Showing posts sorted by relevance for query cranberry sauce. Sort by date Show all posts

Sunday, December 2, 2018

BEST JELLIED CRANBERRY SAUCE!

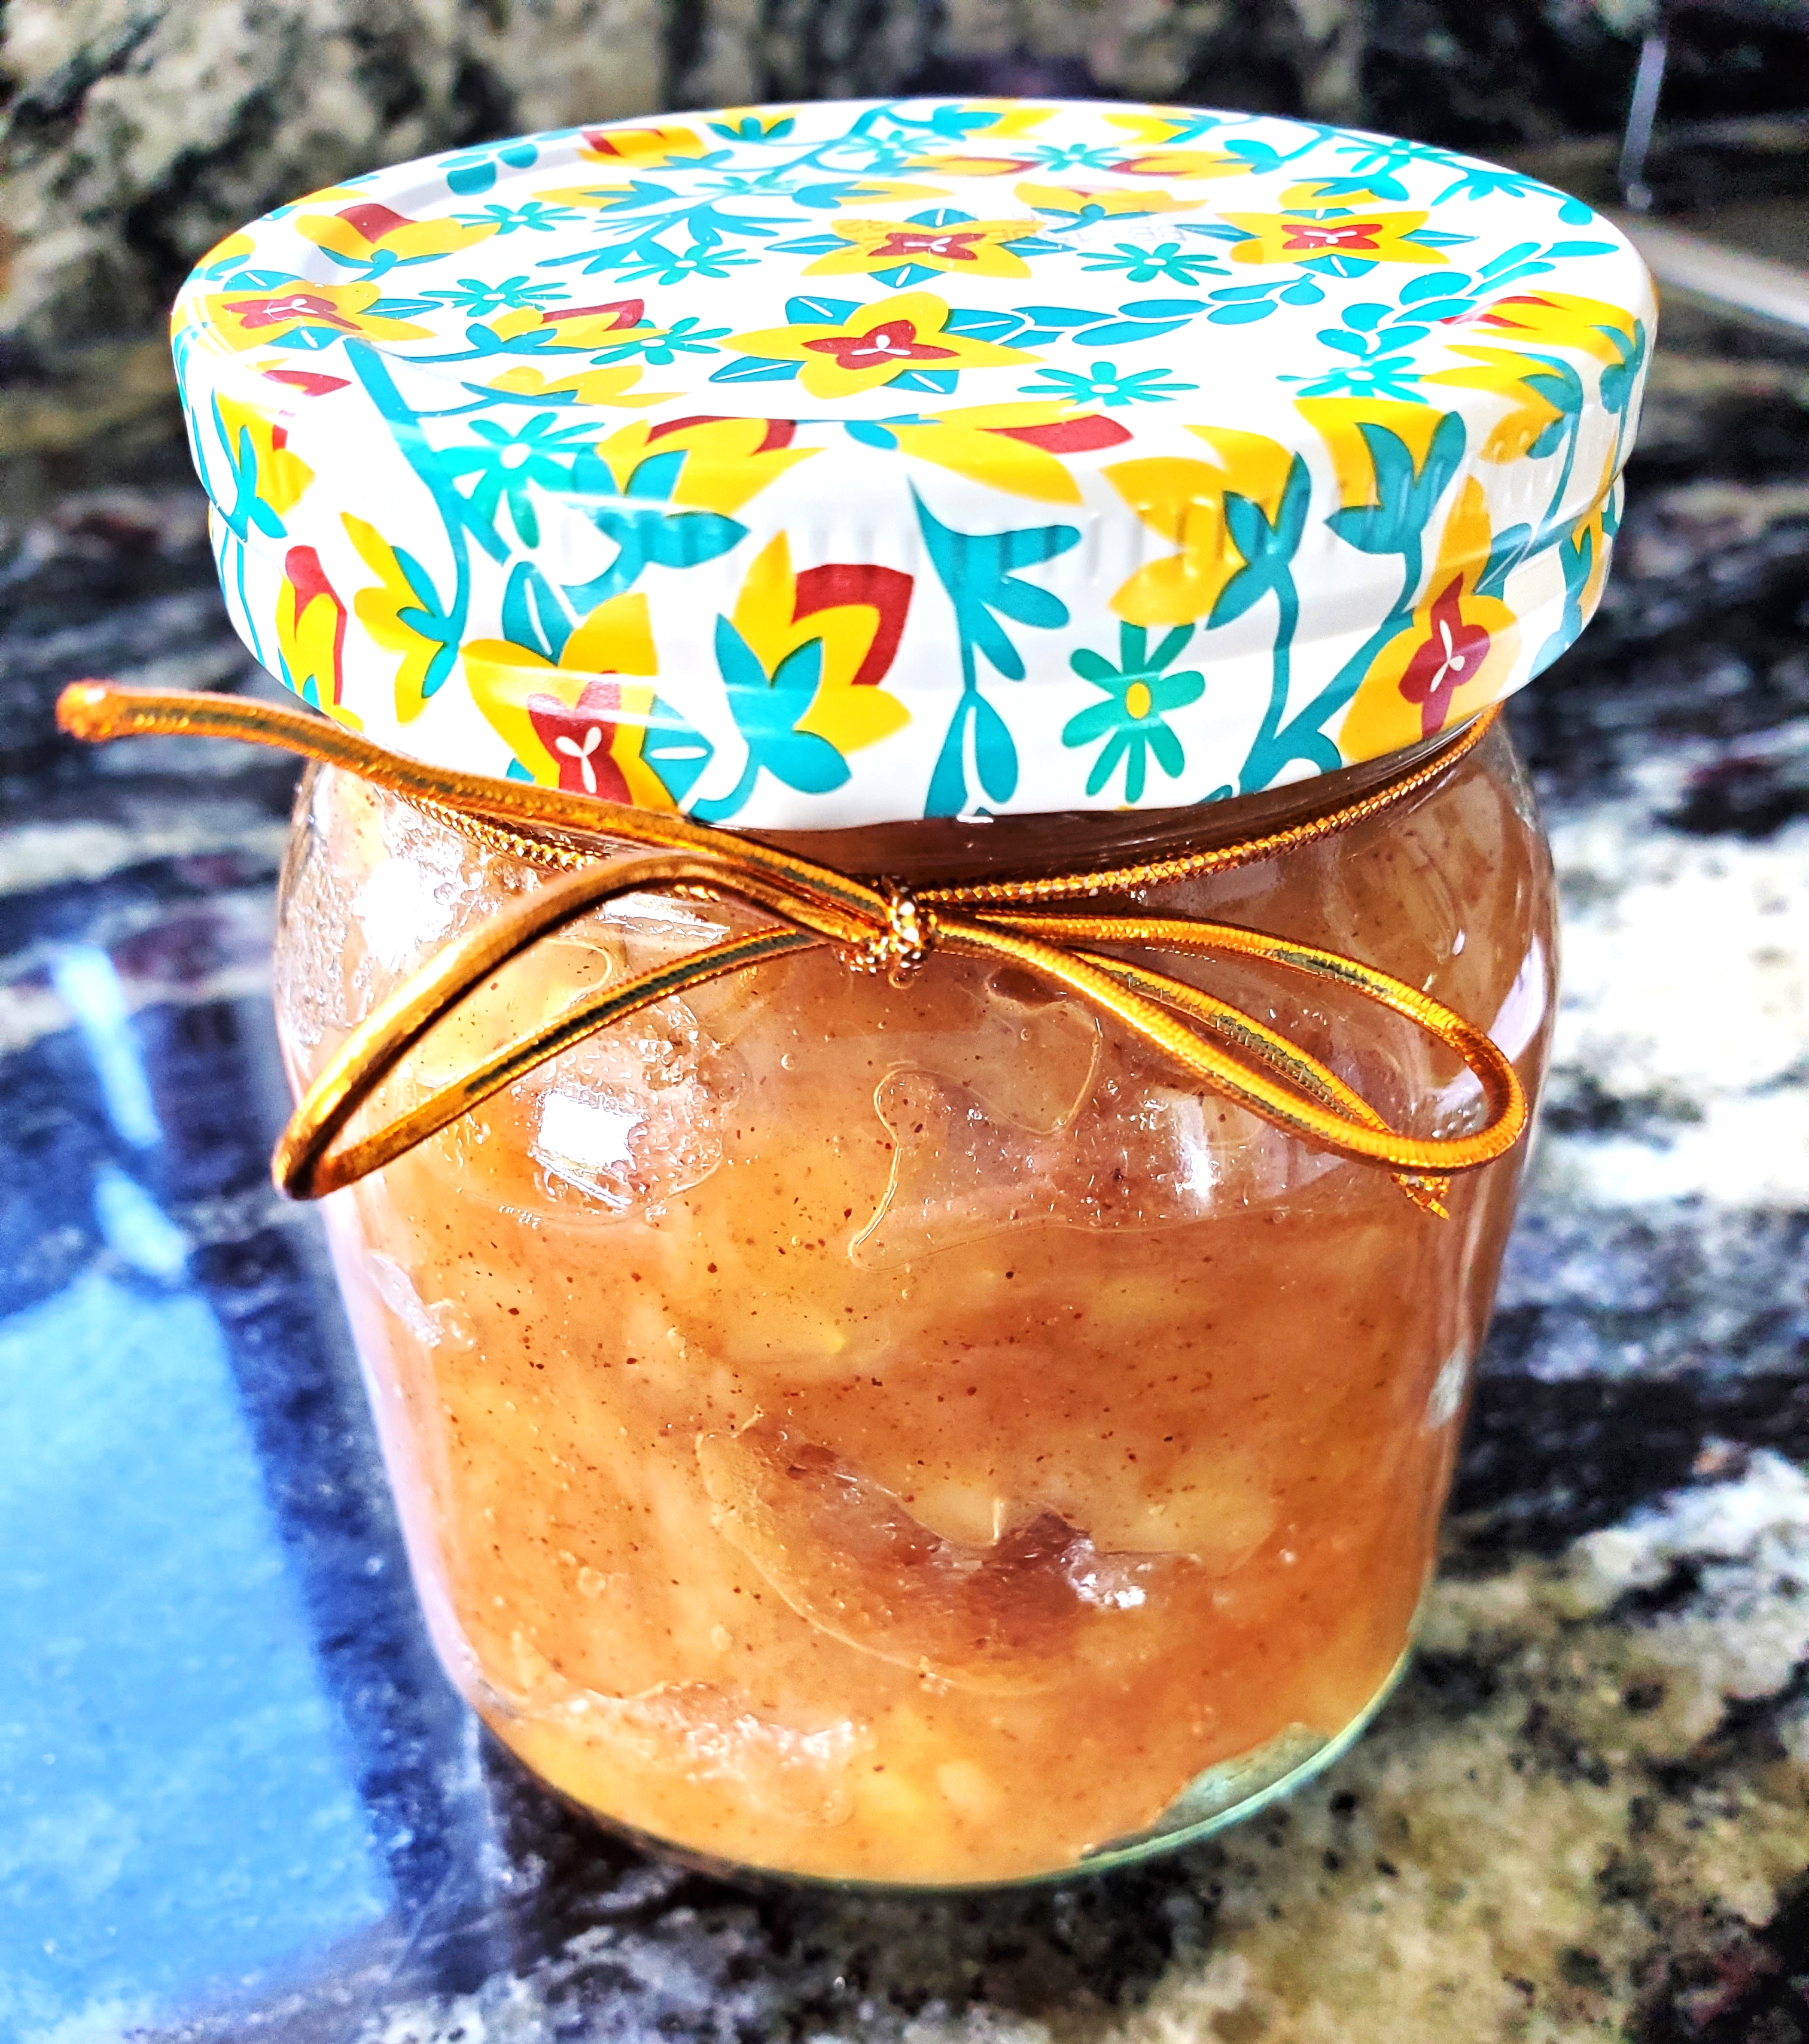
I know Thanksgiving is over, but this Cranberry Sauce is good all year long and works well with so many dishes beyond turkey. Think: Pork Roast, Chicken, or even an elevated Meatloaf. My husband, Jerry, loves cranberry sauce from the can (and I think it is other-foodly) so I wanted to find a recipe that works for us both and this one is fantastic; easy to make; and keeps well for up to 2 weeks. I found this recipe on 'The Food Network's' website and made just a couple tweaks. I will give you the recipe as I found it online, but I omitted the ground coriander, used more orange zest and used a whisker less sugar.
CRANBERRY JELLY
Ingredients:
1 pound cranberries (about 4 cups), thawed if frozen
2 oranges
2 cups sugar (I used 1 3/4 cups.)
1 tsp. ground coriander (I omitted.)
Kosher salt
1 tsp. vanilla

Ingredients ready to bring to a boil.
Preparation:
Put the cranberries in a saucepan. Remove wide strips of zest from 1/2 orange. I used the zest from both oranges. Add to the saucepan with the juice of both oranges. Add the sugar, coriander (if using), a pinch of salt and 1 cup water. Bring to a simmer over medium heat. Cook, stirring occasionally, until the berries burst and the sauce thickens, 15-20 minutes.
...coming to a boil.
Remove from the heat and remove the orange zest. Stir in the vanilla. Transfer to a blender and puree until smooth.
Look at that beautiful color!
Strain through a fine-mesh sieve into a serving dish, pushing the sauce through with a rubber spatula.
Refrigerate until set, at least 3 hours. I made mine 2 days in advance.

Because I wanted my sauce to look more like it actually came from a can, I put my strained cranberry jelly in a round bottom mold. To unmold gently run a knife along all edges of the mold. Place a warm, moist towel on the bottom of the mold and give the mold a very easy tap. Mine slid right out. I will continue making this sauce every Thanksgiving and throughout the year!

Here are some scenes from our wonderful, fun-filled Thanksgiving feast:


Hope your holiday was filled with love and joy.
And now on to the Christmas season!
 
Tune in again soon for another episode of:
 

Friday, November 30, 2012

Cranberry Ginger Sauce and More Turkey??

Hopefully you are not all sick of turkey by now. Today I want to talk about a Cranberry Ginger Sauce I made for our Thanksgiving, a couple side dishes that could be served anytime, not just at Thanksgiving, and also the Boneless Stuffed Turkey Breast, which I believe stole the show! I made 2 boneless stuffed breasts and one 11 pound turkey for 5 of us. Really a a bit over-kill with all the other fixings, but it was all great fun and everyone enjoyed lots of left-overs!
CRANBERRY GINGER SAUCE
I like to change up the Cranberry Sauce every year sometimes using savory ingredients like shallots and sometimes going sweet with apple, pear, walnuts and maybe a little cinnamon. This year, because ginger is one of my Dad's favorite flavors I decided to try a Cranberry Ginger Sauce and it turned out very well. The fresh ginger root gave the sauce a spicy and exotic flavor. This recipe is fast and easy and can be made and stored in jars in the fridge a week in advance of your dinner.

Ingredients:
12 oz. fresh cranberries, washed and picked over (meaning take out any raw berries, or berries that have gone by & remove stems)
1(+) cup sugar (Toward the end of cooking time, taste it, if  you want it sweeter add more sugar.)
Finely minced fresh ginger root-about 2 Tbsp.
Juice of 1/2 orange (It's OK if some pulp falls in, too.)
Zest of 1/2 orange (Orange skin only. If you go too deep, the white part is bitter.)
1 cup water
I really like the look of a ginger root!

Preparation:  Stir all ingredients together in a medium saucepan and bring to a boil over medium heat until sugar dissolves, stirring occasionally. Boil gently stirring frequently for 10-12 more minutes. Sauce will get thicker as it cools. Taste for sweetness. Add more sugar if you like. Cool in saucepan. Remove into glass jars and chill in fridge at least an hour if eating right away and if not, it is good for a week or more. This sauce gets more gingery as it sits!

Before I get into the Boneless Turkey Breast I want to tell you about a couple vegetable dishes that I prepared for Thanksgiving and may give you some ideas of your own.

CHEESEY DUCHESS POTATOES
Duchess or Duchesse Potatoes are a classic French dish. These pommes de terre are quite simple, but have an extraordinary texture. Traditionally to make Duchess Potatoes, season mashed potatoes well; beat in a well-beaten egg and then force through a pastry bag into puffy shapes and bake until golden brown. I simplify by cutting the "piping" step and just bake in a casserole.  To try something new, this time I added about a cup of sharp cheddar cheese and then topped with more cheese and butter before baking in a casserole.

Unfortunately the photo of the potatoes all baked was too blurry, but trust me each one of those little peaks on top becomes golden brown and crispy with the inside texture being very creamy.  All you do is boil 4-5 big peeled and chopped potatoes (I used Idaho) in salted water. Mash potatoes with salt/pepper and about 1/2 stick butter. Add 1 cup of grated cheese of your choice. For Thanksgiving I used Cabot Cheddar. Add 1-2 eggs depending on size of eggs and how many potatoes you used. Beat the egg into the potato mixture. If you are making this the morning of your dinner, bring it to the counter to warm up for about an hour before baking. Bake at 350 degrees for 3/4 to 1 hour until top is very browned and beautiful!

MAPLE GLAZED CARROTS

We also had Maple Glazed Carrots that were supposed to be served with crumbled buttered pecans, but the pecans burned to a crisp so I served the carrots sans nuts. To make this vegetable dish, peel and cut carrots into uniform, but fairly large pieces. Lay them out on a cookie sheet lined with foil. Liberally salt and pepper, add about 2 capfuls of Olive Oil, roll carrots around to coat in oil, and dot with butter. Roast in preheated 425 degree oven until tender and browned; 40-45 minutes. This can be done the night before. Wrap well and refrigerate overnight. To make the sauce melt about 2 Tbsp. butter in a pan, add 1/2 cup maple syrup and a pinch of hot pepper. Cut with a tablespoon or 2 of water if it seems too thick. I also added (optional) 1 Tbsp. of bourbon since that was the theme for the turkey basting! Toss the carrots in this sauce and rebake, covered, for about 20 minutes until nice and hot.


BONELESS STUFFED TURKEY BREAST
When serving do not put the end pieces of the rolled turkey on the plate as they are not as large as the center pieces so don't look as attractive, but they work well in sandwiches later!  Each breast made 5 thick slices, (plus the end-piece left-overs). I served the rolled turkey breast with a mushroom and caramelized shallot gravy. I used  a very traditional herby bread stuffing and used the same stuffing for both big bird and the 2 breasts. If I was cooking for more adventurous palates I would have used stuffing that included spinach, feta cheese, roasted red pepper, pine nuts, or something along those lines, but this year it was a bag of herbed bread crumbs (whatever brand has the least amount of salt; this year it was Pepperidge Farm). Melt 1 stick of butter, add 3 stalks of finely diced celery, finely diced large onion, cook both in the butter until soft. Add lots of Bell Seasoning. No salt! And a little pepper. Add the bag of herbed bread crumb; 1 egg; moisten with about a cup of chicken stock; mix well; cover with plastic wrap and let sit overnight. Add more chicken stock in the morning if the stuffing needs a little loosening.

Now on to a bit of technique for rolling.

I bought hotel style turkey breast which is a whole breast and some wing meat on the bone. To cut each breast off the bone run your sharpest big knife along either side of the backbone to loosen the meat at the top first and then just continue along the natural line of the bone/ribs keeping your knife close to the meat as you cut it away. Leave the skin on. You will be surprised how easy this is to remove the meat from the bone. Once off the bone, pound your breast to an even thickness--about 3/4 inch thick.  Remove any tendons, visible silver skin or other junk.

Once the breasts are flattened, place your stuffing down the center of the breast. Start rolling from the long end, jelly roll style.  As you roll, the stuffing may ooze out, but just keep gently working it back inside with your fingers. Pull the skin so it fits around the breast. Now you are ready for tying.
 
 
This is my favorite part as it makes me feel like a little butcher! Take a long piece of kitchen twine and start by sliding the twine under the breast and tying it off in a loop around the meat. Bring the string across the top of the breast and every 2 1/2 inches or so, loop the twine under the breast and just 'catch' the long piece under the loop at the top to make a secure, but loose knot. Keep doing this until you are at the end and then tie off in a tight knot and cut whatever left-over string you have. If you do not have kitchen twine, get creative! One night when cooking with friends we resorted to dental floss (unwaxed and non-minted of course) to tie up some chicken breasts. Worked just fine!
And here they are ready to roast. Because there are no bones it does not take long to cook these breasts even though stuffed. You do not want them to dry out. Drizzle them liberally with olive oil, salt, pepper and dot with butter. I roasted big bird in a bourbon sauce (Yum Yum was that ever good!) so used a little of this to baste as they were cooking. I started these breasts at 425 degrees for 15 minutes and then turned the oven down to 325 and cooked for another 45 minutes for an hour total cooking time. I know you are supposed to use a meat thermometer to test doneness, but I cannot find one that works well so I go by look and feel.

A quick word on big bird...
My husband told me this morning that if he never had another full bone-in turkey for Thanksgiving he would not be disappointed. That was quite a compliment on the boneless breasts, but I would be disappointed not to brine, stuff, roast, baste and carve a big bird. I just love doing it! This year I brined our bird overnight in about 2 cups of kosher salt, a bunch of fresh thyme, dehydrated garlic, ground pepper (Do not use whole pepper corns in your brine. They are very difficult to get off your bird the next morning. They stick to the bird inside and out and need to be removed one at a time---learned from experience!), and the secret ingredient...a cup of bourbon. My roasting pan is large enough that I could fit the bird (only 11 pounds) in the roaster, rub the salt and spices all over inside and out and then cover with water and bourbon. I put this bird out on the back porch in NH at Dad's covered with a couple big rocks so the coons wouldn't get at it, but before going to bed transferred the whole thing into the trunk of my car so it wouldn't freeze. I also know how clever racoons are and didn't want to find an empty roasting pan in the morning!

Next morning:  rinse, rinse, and rinse again. You can brine with just about anything as long as you include salt and water. I always brine my bird as it keeps it more moist plus gives you more time to play with your bird. If you have a huge bird (one year I cooked a 23 pounder!) you can brine in a big, tightly secured plastic garbage bag.

Here's a stuffing tip, which you may already do, but if not it is another trick for keeping your turkey moist. Pull apart the top of the skin and place the stuffing between the skin and the breast meat. Put a bunch of stuffing under the skin at the back end of the bird, too. This also gives the stuffing a really rich flavor.


I made a mince pie for dessert and some cranberry orange jello. The jello, made from unflavored gelatin was interesting. (Note, I did not say delicious!). Very simple to make, but the canned Mandarin orange segments were too tart and the texture was a little odd. I would definitely make the cranberry gelatin again, but would try a different fruit. Send me an email if you want the recipe so you can try your own modifications!
Looks beautiful, doesn't it?!?

You know my philosophy...
cooking is all about having fun, being creative, trying new things. They all won't be winners!

WISHING YOU ALL A VERY HAPPY DECEMBER
FILLED WITH MUCH LOVE AND
 KITCHEN FROLICKING AND FESTIVITIES!
This was the table arrangement I made for our Thanksgiving dinner! Easy by hollowing out a pumpkin!
SEE YOU NEXT TIME WITH

Saturday, November 23, 2013

Thanksgiving Tidings...

We just got back from the Thanksgiving Day Parade here in Plymouth. This is the second largest Thanksgiving parade in the country, after the Macy's Parade and this year it was truly spectacular! It has everything you want to see in a parade: marching bands, drum and bugle corps, horses of all kinds, old cars, floats, those big huge balloons that take several people to hold down and of course, Santa riding in to conclude the parade.
But before we get into Christmas I want to share my Thanksgiving Day menu and give you a couple "do-ahead" tips. I made two cranberry relishes last week; one is a repeat from last year--back by popular demand, Ginger Cranberry and the other is a fairly standard Cranberry Orange relish with the addition of pineapple. These sauces keep well for a week or more in the fridge making them a quick and easy do-ahead for your big dinner. And so much better than the stuff from the store.

You can find the Ginger recipe from my November 30, 2012 blog. The freshly grated ginger root gives the cranberry a nice kick. Here's the recipe for the new sauce:

CRANBERRY ORANGE PINEAPPLE SAUCE

The Ginger Cranberry is on the left and the Orange Pineapple on the right.
They look nearly identical, but taste very different!
Ingredients:
3 cups fresh cranberries (1 12 oz. bag)
1 cup sugar
1/2 cup freshly squeezed orange juice
Peel and cut the other half into small pieces; remove any white membrane
Zest from the whole orange
8 oz. can crushed or chunk pineapple in its own juices (not sweetened). I used crushed so the pineapple itself disappeared, but left a nice pineapple flavor.
1 cup water

Preparation:
Bring all ingredients to a boil over moderate heat stirring occasionally. Reduce heat and simmer, uncovered stirring occasionally until slightly thickened, about 20 minutes. Sauce will continue to thicken as it cools. Cool completely and then store in tightly covered glass container in the refrigerator.

Here is the complete Thanksgiving Day menu. You will find some of these recipes on last year's November 2012 blog.

Hors D'oeuvres will be handled by my brother Skip and his wife Esther, and his son Chris and wife Sarah who are also joining us at my Dad's this year with their adorable 2 year old baby, Peregrine.

*TURKEY ROULADE WITH CLASSIC STUFFING AND RICH BROWN GRAVY
*HAM WITH CLOVE STUDDED ORANGES AND MAPLE SYRUP
*BRINED HERB-CRUSTED TURKEY WITH SAUSAGE STUFFING AND APPLE CIDER GRAVY

*TWICE BAKED SWEET POTATOES WITH PECAN, CINNAMON, BUTTER AND BROWN  SUGAR TOPPING
*BOURSIN CREAMED SPINACH
*STEAMED PEAS AND PEARL ONIONS

*BAKED ROLLS
*SPICY CRANBERRY GINGER RELISH
*CRANBERRY ORANGE-PINEAPPLE SAUCE

*PUMPKIN CHEESECAKE WITH GINGER SNAP CRUST
*PUMPKIN ICECREAM

Esther is also bringing an apple pie and who knows what other goodies will show up on the harvest table!

Today I also want to talk about a do-ahead gravy that I made last week. It may be the best gravy I ever made and takes all the last minute frantic effort out of doing gravy when everyone is ready to sit down and eat. This gravy can be frozen for a couple weeks. I took this photo after freezing the gravy.


Here's another trick which you may want to try. I just learned about it. Cook white flour before using in a brown gravy or rich stew. It darkens the color and I believe removes any of that 'floury' taste that sometimes occurs. All you do is heat a dry, clean skillet over medium heat. Add 2 cups white flour and stir frequently with a wooden spoon or heat-proof spatula. Just as the flour begins to darken stir constantly. I stirred for 20 minutes and said "enough!", but the technique I read about said to stir for 50-60 minutes. The stirring is important as the flour can burn fairly easily which stirring avoids. This is how the flour looked before and after:


You can store the cooked flour for up to a year in the freezer.
DO-AHEAD RICH BROWN GRAVY
Ingredients:
1 large onion, chopped
2 carrots, chopped
2 stalks celery, chopped
1 Tbsp. olive oil/1 Tbsp. melted butter
Turkey parts-I used 2 large legs cut up by the butcher into 2" rounds. Necks or wings would also work well.
2 Tbsp. cold water
8 cups chicken or turkey stock
2 cups water
4 sprigs fresh thyme
1 large sage leaf
2 cloves garlic
3 Tbsp. butter
1/2 cup browned (or white) flour
Salt/Pepper to taste
Pinch of cayenne

Preparation:
Preheat oven to 400 degrees. Combine onion, carrots, celery, olive oil, 1 Tbsp. melted butter in a large roasting pan and toss to coat. Place the turkey parts on top of veg. Liberally add salt/pepper. Put the roasting pan in the preheated oven and cook until the turkey wings are browned and vegetables are caramelized and softened, 40-45 minutes.
Transfer turkey and veg to a large stockpot. Place the roasting pan over a stovetop burner on medium heat. Pour 2 Tbsp. cold water into the pan and bring to a boil, scraping up all browned bits. Transfer mixture to the stockpot and add 8 cups chicken or turkey stock and 2 cups water, thyme, sage leaf, garlic. Bring to a boil. Reduce heat to low and simmer, uncovered until meat falls off the bone, about 3 hours. Skim off turkey fat throughout the process and set aside 2 Tablespoons.
Strain turkey stock through a fine mesh strainer and reserve 6 cups of stock. When I made this, 6 cups was all that was left after it bubbled on the stove for 3 hours.
Heat 3 Tbsp. butter and 2 Tbsp. reserved turkey fat in a large saucepan over medium heat. Sprinkle in flour and cook, whisking continuously until it begins to thicken, 3-4 minutes. Simmer until desired thickness. Season with salt, pepper and a pinch of cayenne to taste.

On turkey-day I will scrape some of the turkey pan drippings into the pre-made gravy to give it a little more richness as it reheats. This recipe sounds like a lot of steps, but it is VERY easy and makes a perfect gravy. Next time I think I might try adding 1/2 cup dry vermouth or white wine or possibly some shitake mushrooms.

Yum! Yum!
Here are a couple more photos from today's parade...

Playing the fife while riding these crazy bicycles looks like no easy feat!


Preparing a big Thanksgiving dinner does not have to be stressful. By doing a few things ahead of time it takes a lot of the work out. Tomorrow I am going to share with you the recipe for the turkey I am making this year. It's one from Anne Burrell using some different techniques, but much of the work is done ahead.

I am incredibly grateful for the beautiful day I spent with my husband, cousins Joe and Kathe and tens of thousands of other people all feeling the spirit of this tremendous season. There was lots of love in the air.


Thanks, as always for sharing with me!
 

Saturday, June 11, 2022

EASIEST APPLESAUCE YOU'LL EVER MAKE!

I'm sure many of you have your own Apple Sauce recipe, but this is so easy I just had to share. The most time consuming part of this recipe is peeling and chopping the apples. Once that is done it takes under a half hour to make. If you have not made your own apple sauce, once having tried this, I guarantee you'll never buy it again.


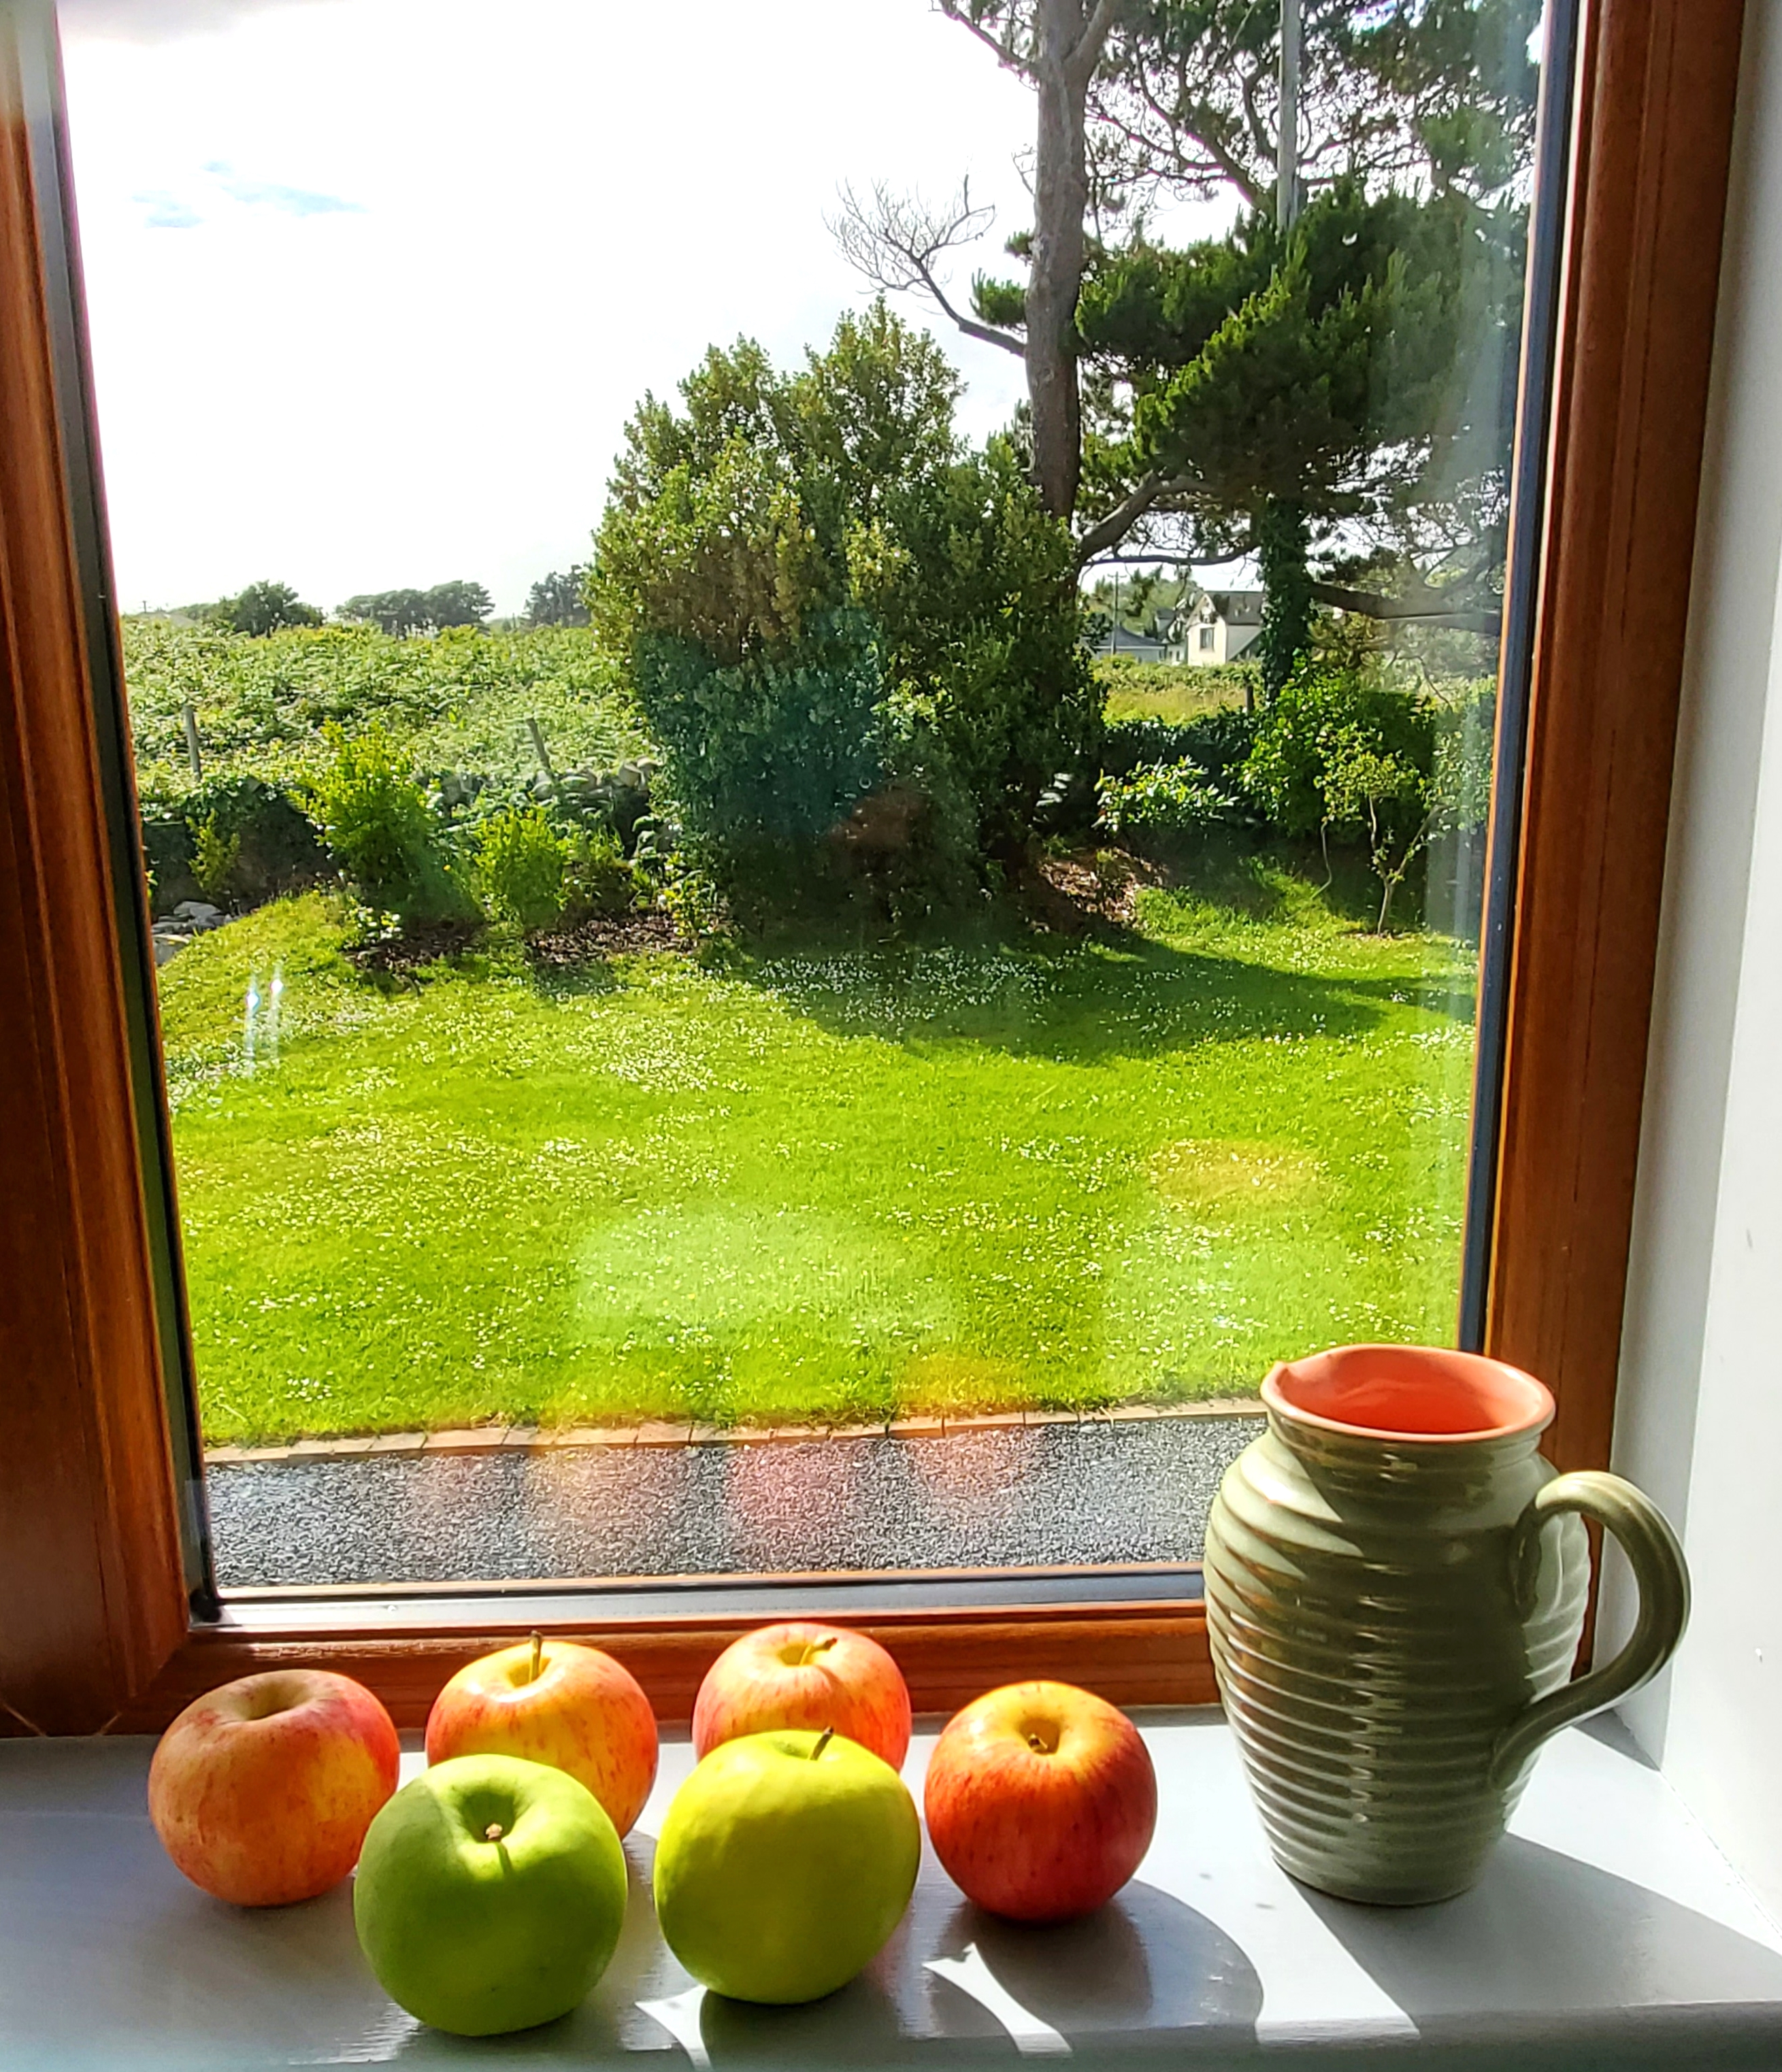
I used 4 Gala apples and 2 Granny Smiths. The Granny Smiths are crisp and somewhat tart, which adds a nice balance to the sweeter Gala, but use any combination of apples you like. 

Ingredients:
4 Gala apples, peeled and chopped
2 Granny Smith apples, peeled and chopped
2 tsp. ground cinnamon
3 Tbsp. Demerara sugar (brown or white sugar will work, as well)
Pinch salt
1/3 cup water

Preparation:
Place all ingredients in a pot and slowly bring to a roiling boil; about 3-5 minutes. Stir, reduce heat, cover and cook over low heat for another 10 minutes or until apples are very tender and you have a sauce-like consistency.

Give a vigorous stir to start breaking down the apples. Using the back of a large spoon, mash the apples until they are mostly crushed. 

Cook another 10 minutes covered. Add a bit more water if the sauce becomes too thick. Remove from the heat. Cool. The sauce will continue to thicken as it cools, similar to cranberry sauce. I like a chunky Apple Sauce so it's now ready to serve warm or chilled. If you prefer your apple sauce smooth, put the mixture through a food mill. This is excellent on pork, spread over warm toast, topper with plain yogurt, baked ham, and on and on!

LOT'S MORE COOKING AHEAD!

NEXT UP, POTAOTES! 

YOU MIGHT THINK POTATOES ARE THE MOST POULAR VEG IN IRELAND, BUT A STUDY DONE A FEW YEARS AGO SHOW 75% OF PEOPLE CHOSE CARROTS TO BE THE WINNER.

POTOATOES ARE A CLOSE SECOND WITH 73% OF THE VOTE.
Our rugged back yard overlooking Galway Bay.

WWW.COOKWITHCINDY.COM


Wednesday, December 25, 2019

CHRISTMAS TIDINGS!

My internet has been on the fritz so I didn't get this posted in time for Christmas, but it's a good, old-fashioned treat for any cocktail party at any time. The home-made version tastes nothing like the ones you buy in the store!

CLASSIC CHEDDAR CHEESE BALL
There are many variations on a cheese ball, but I went with 13 year aged cheddar ball.

Ingredients:
2 cups shredded extra-sharp cheddar cheese
8 oz. cream cheese, softened
2 Tbsp. mayonnaise
1 Tbsp. Worcestershire sauce
1 garlic clove, minced
1/4 tsp. cayenne pepper
1/2 cup sliced almonds, toasted

Preparation:
Process all ingredients except nuts in a food processor until very smooth. Transfer the cheese to the center of a large piece of plastic wrap.
Pull all 4 corners together and twist so cheese forms a ball. It will be a little squishy.
Form it with your hands into a round shape. Once the cheese ball is chilled you can fine-tune the shape. Refrigerate until firm; at least 3 hours, or overnight. The cheese ball can be chilled for up to a week.

Lightly toast the sliced almonds in a dry pan. Watch closely as they burn easily. Cool.

Once the cheese ball is firm, reshape if necessary. Unwrap the cheese ball and roll it in the toasted nuts. Serve with your favorite crackers!

SWEET SPICED NUTS
These nuts are addictive and a treat any time, but I like them during the Christmas season. Use unsalted nuts. They store well in airtight containers for up to 3 weeks. Recipe is easily doubled or tripled. They make a nice hostess gift!

Ingredients:
2 large egg whites, slightly beaten
2 Tbsp. water
2 tsp. salt
2 pound nuts: unsalted raw pecans, cashews, walnuts or whole unblanched almonds, or combo of all
1 1/3 cup sugar
4 tsp. cinnamon
2 tsp. ginger
2 tsp. coriander

Preparation:
Preheat oven to 300 degrees. Line 2 baking sheets with parchment paper. Whisk egg whites with water and salt in a large bowl. Add the nuts and toss to coat. Drain in a colander for 5 minutes.

Mix sugar with spices in a large bowl. Add the drained nuts and toss to coat thoroughly. Spread nuts evenly on prepared baking sheets and bake until dry and crisp, 40-45 minutes, rotating and switching position of baking sheets halfway through. Cool nuts completely. Break apart and store in airtight containers.

Sorry, no photo!

AND I DID MAKE THE CRESCENT CRANBERRY BRIE WREATH I TALKED ABOUT LAST TIME...

CRANBERRY AND BRIE CRESCENT WREATH

The home-cured prosciutto from Jay Bileti paired perfectly with this not-too-sweet breakfast roll.

Ingredients:
2 packages crescent dough
8 oz. good quality brie
About 1 cup home-made cranberry sauce
1 egg, slightly beaten
Fresh thyme
Coarse salt
This Tripe Crème Brie worked perfectly!

Preparation:
Preheat oven to 350 degrees. Line a sheet pan with parchment paper. Open all crescent triangles and join together at wide end. Place a tablespoon of cranberry on each roll. Cut brie into thick wedges and top the cranberry with the brie.
Fold the pointed end around the cheese and cranberry and tuck underneath the wide end of crescent dough forming a circle, aka wreath!

Brush with egg. Sprinkle on a little coarse salt and fresh thyme leaves. Bake for 30-35 minutes until golden brown.

CHRISTMAS DAY IS COMING TO AND END,
BUT THIS IS A SEASON SO KEEP ON ENJOYING
RIGHT INTO THE NEW YEAR!


Friday, November 20, 2015

BOURBON INFUSED CHICKEN LIVER PATE WITH CRANBERRY GELEE

This is the first year ever in my adult life that I have not cooked a full Thanksgiving dinner. It already seems a little odd, but I know my husband and I will have a wonderful celebration with good friends and neighbors. I am grateful for the love all around me and am blessed to be surrounded by such beautiful people.

I am going to bring an appetizer and a turkey roulade to our neighbors who have graciously asked us to join their 20+ member family dinner! First, the appetizer...

I love chicken liver pate and double checked with Brian and Lori to make sure their family feels the same way. I found this recipe online and because I am making it for the first time will follow to the letter. It looks gorgeous!

http://www.seriouseats.com/recipes/2014/11/chicken-liver-pate-bourbon-cranberry-recipe.html

In case you don't want to go to the Serious Eats site (which I am not familiar with), here is the recipe:

BOURBON INFUSED CHICKEN LIVER PATE
WITH CRANBERRY GELEE

Ingredients:
2 lbs. chicken livers, trimmed of sinew and fat
Kosher salt and freshly ground black pepper
3 Tbsp. vegetable oil
2 shallots, minced
1/2 tsp. minced fresh thyme
2 oz. bourbon or whiskey
2 oz. apple cider
1 1/2 sticks unsalted butter
1/2 envelope unflavored gelatin
1 cup unsweetened cranberry juice
2 Tbsp. sugar
If using sweetened cranberry juice, omit the sugar.

Preparation:
Pat livers dry and season with salt and pepper. Heat 2 Tbsp. oil in large skillet until smoking. Cook half of the livers, turning, until browned on both sides and pink in the middle, about 4 minutes. Transfer livers to the bowl of a food processor. Add 1 more Tbsp. oil to the skillet, heat until smoking and cook the second half of the livers.
Add remaining 1 Tbsp. oil to skillet, add shallots and thyme and cook, stirring until softened, about 2 minutes. Add bourbon and cook, scraping up browned bits from bottom of pan until almost evaporated or flame the bourbon to cook off the alcohol (that's what I plan to do!). Add cider and cook until slightly reduced. Scrape shallots and any remaining liquid into food processor bowl with the livers.
Add butter and process, stopping to scrape down sides, until a smooth pure forms. (The recipe does not say this, but have your butter at room temperature before adding to the food processor. It will blend much easier.)
Set a fine mesh strainer/sieve over a large mixing bowl and, using a wooden spoon or ladle, press and plunge liver through it. Season liver pure with salt and pepper and scrape into a large ramekin or terrine (I just bought a pate mold special for this occasion!). Tap the container against the counter to remove air pockets. Smooth surface, then press plastic wrap directly against surface and chill in refrigerator until set, at least 2 hours or overnight.

To make the Cranberry Gelee:
In a glass measuring cup, sprinkle gelatin on top of cranberry juice and let stand for 15 minutes. Transfer cranberry juice and gelatin to a small saucepan and stir in sugar (if using. It's simpler to just use regular sweetened cranberry juice). Heat over medium-high heat, stirring until sugar is dissolved and juice is simmering. Remove from heat and let cool. Gently pour cooled cranberry juice on top of pate. Cover with plastic and refrigerate until cranberry sets, at least 2 hours or preferably overnight. Pate can be refrigerated for up to 5 days before serving.


Here is the roulade (boneless stuffed turkey breast) I am bringing which I generally make every year along with the full, big bone-in bird. Go to link below for complete recipe.

http://cookwithcindy.blogspot.com/2012/11/cranberry-ginger-sauce-and-more-turkey.html
And finally, recently I was asked if I have a good pumpkin cheesecake recipe. Here is one I made for my family Thanksgiving dinner a couple years ago. I served it with pumpkin ice cream, which made for a fabulous combo. The ice cream is not made from 'scratch' so really simple and easy to put together. Here is the link. Scroll down as the desserts are at the end of the blog.
http://www.cookwithcindy.blogspot.com/2013/12/turkey-tales.html
We are sharing Thanksgiving dessert with some of my favorite golf ladies and their families. I will bring the pumpkin ice cream to them!
Thanksgiving is less than a week away!
Wishing you all a very happy, healthy, bountiful holiday
filled with good food and lots of love!
 
And thanking you all for  tuning in to another episode of
Cook with Cindy. We just exceeded 15,000 views.
I am grateful to all of you for sharing my love of cooking.
 
HAPPY THANKSGIVING!
Here's my Dad in his easy chair after a huge feast--Thanksgiving 2013.