Showing posts with label salami. Show all posts

Friday, December 28, 2018

THE WONDERFUL WORLD OF CHARCUTERIE!


Me and Jay still smiling after 7 hours of salami making!
I recently had the privilege, once again, to work with my friend Jay Bileti making charcuterie. We cut, ground, spiced, stuffed, and hung 20 pounds of pork; two 5 lb. batches of pepperoni, and two 5 lb. batches of salami--A Tuscan salami, which has a lot of lightly crushed whole black peppercorns, fennel, anise, sugar, Kosher salt and red wine, and Calabrese, a spicy salami with cinnamon, red and black pepper, sugar, Kosher salt and red wine.

The pepperoni's contain Kosher salt, black pepper, fennel seeds, anise seeds, sugar, paprika, cayenne, chipotle and ancho pepper, and red wine.

Making salami is a precise process involving exacting science. I do not recommend making at home yourself, as if done improperly you can make yourself or someone else very, very sick or even die. Take a class or work with someone who has extensive knowledge of the science behind curing meat.


This photo is from Lexi's food blog, www.lexiscleankitchen.com.
 
First, what is Charcuterie? In Italy it generally refers to salted and dried meats, such as salamis. In France, charcuterie is generally cooked meat, such as pates. Traditionally pork is the meat that is used in both the dried and cooked processes, but as with everything there are many exceptions and variations. Pates, for example, can be made from meat, fish, poultry or livers. Today you often see both cured and cooked meats served attractively on a wooden board along with dried fruits, cheese, possibly nuts, olives, or onion jam. The word Charcuterie is also sometimes used to define the shop where these meats are sold. And, the French word for someone who makes charcuterie is a charcutier, or pork butcher. Jay is definitely a charcutier, where I am still very much a student. I would not attempt to make this on my own even after two opportunities working with Jay.
We used a combination of Pork Shoulder, Pork Belly and Pork Butt. The Butt sits higher than the shoulder and contains lots of lovely fat. When making salami you want to maintain an 80-20 ratio of lean meat to fat. The pork is cut into 1" dice removing most of the sinew and stringy bits. Next it is ground and finally spiced with cultures added.

One of the most important ingredients in charcuterie is salt. The world's oldest preservative, salt is essential to draw out moisture as the meat cures, which makes it more difficult for bacteria to grow. Since bacteria have no mouths, they need to dissolve their food in water to absorb it through their membranes--no water, no eating! And, salt also draws water out of the actual bacteria, which will kill them. Keeping all tools and work surfaces clean is also extremely important. Jay keeps a bowl of bleach water right on the counter and encourages constant washing of tools and hands. Watching the temperature of both your meat and grinding tools is also critical to discourage growth of "bad" bacteria.

 
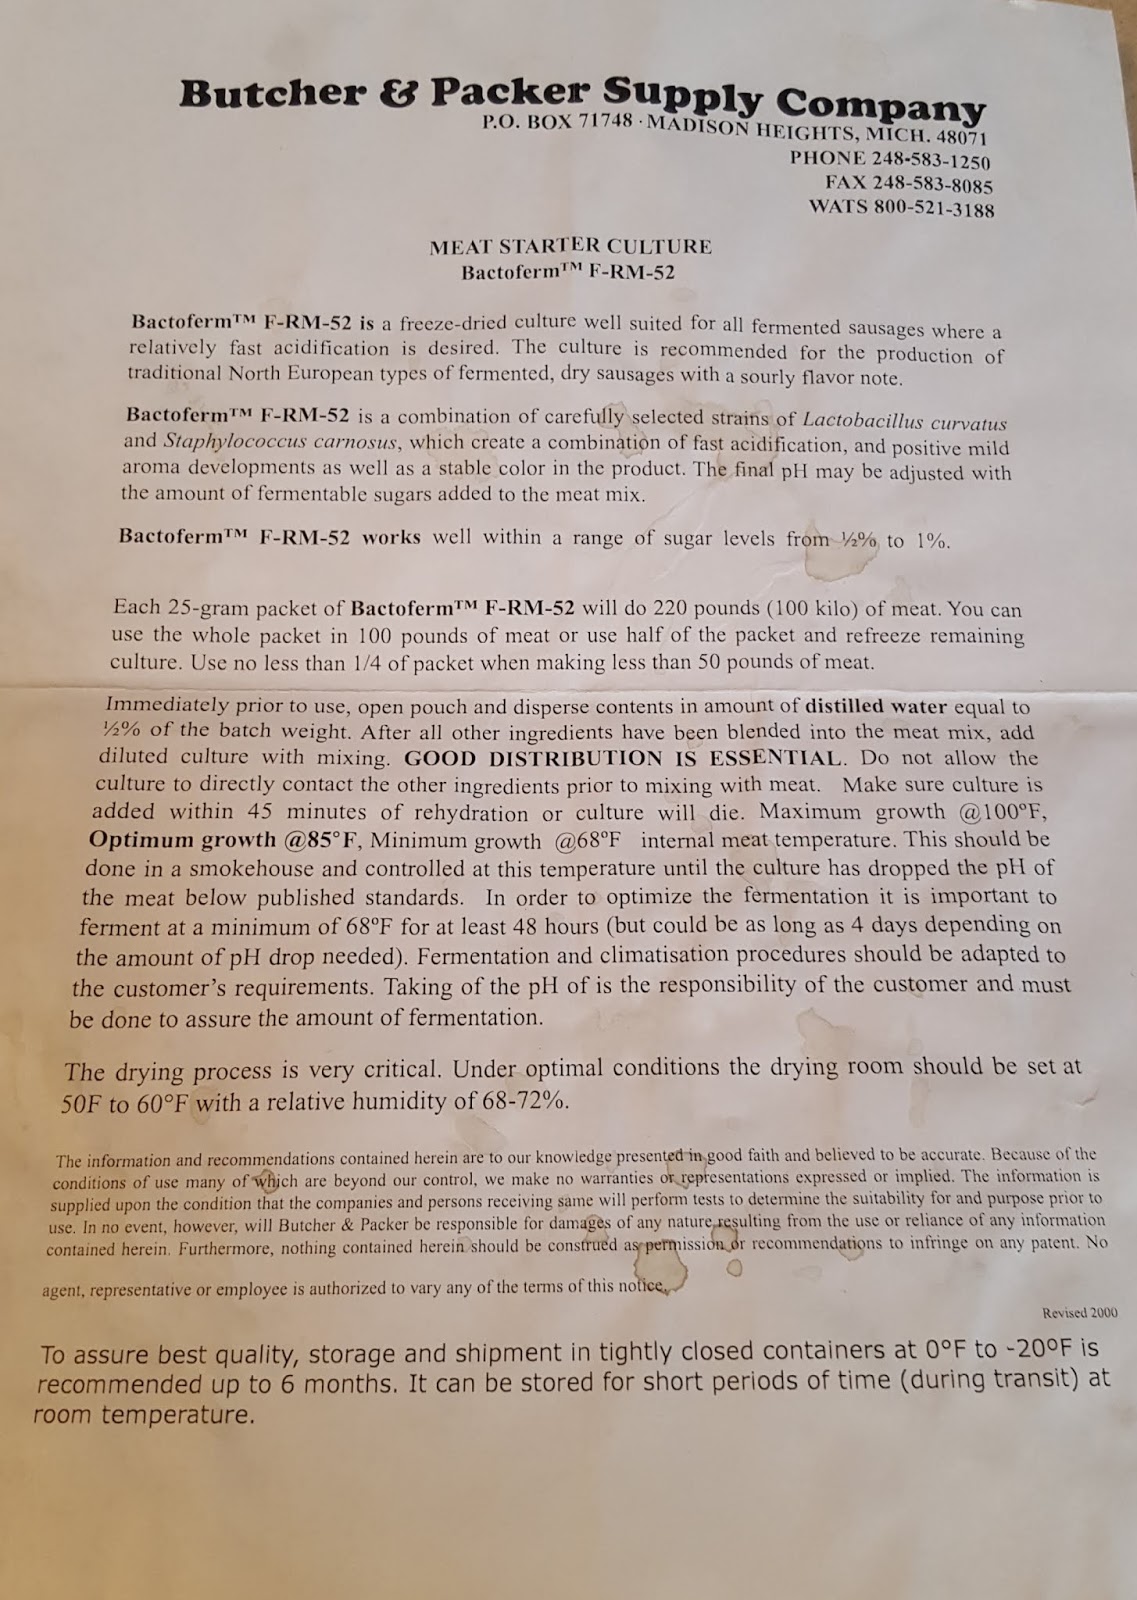
Spices added. Next comes the Fermentation agent.


A Fermentation agent or culture mixed with a small amount of water is added to the ground meat. The Fermentation agent pre-populates the meat with beneficial bacteria so the "bad" bacteria (the ones that make you sick or can kill you) have less of a chance to grow.

Now you are ready to stuff the meat into pre-soaked casings. We used smaller intestines from a pig to make the pepperoni and larger casings from a cow for the salamis.


Once stuffed, the salamis need to be pricked so moisture can be released in the curing/drying process. The salamis also need to be brushed with a solution that helps form "good" mold. The mold helps prevent growth of "bad" mold on your salami.

Two knots are used to tie off the salami. First a square knot and then just above that knot a bubble knot (two half hitches). The second knot helps ensure that the knot doesn't slip loose resulting in your salami on the drying chamber floor. Some of our salamis weighed over 2 lbs.!
 
Within 24 to 30 hours mold starts to form.
Temperature and humidity are carefully monitored and controlled. Acidity (pH) also needs to be measured, which will tell you if the cultures are doing their thing properly. Bacteria doesn't like acidity and the fermentation process increases it, making life tough for the bacteria and creating a nice tart taste to the salamis. As I said before this is a scientific process and it was such a treat for me to work, once again, with a charcutier.

It will take the pepperoni about 4 weeks to cure and the salamis will need 6.

Jay is also curing a 20 lb. piece of Proscuitto, which takes 18 to 24 months to cure! It will lose 4 lbs. over that time, but 16 lbs. is still a lot of Proscuitto! This will be a good exercise in patience. Proscuitto comes from the back leg of a hog that is both salted and air dried.
A believer in using every part of the pig, Jay is also making Guanciale, which is cured pork jowl or cheek. The name comes from the Italian word for cheek, guancia. Can't wait to see what he does with the snout and ears!
He has already made bacon, which he generously served with wonderfully creamy scrambled eggs made by his wife, Lynn, before our day of meat cutting began.

All in all a great experience and one I hope to repeat!
 
To learn more about the art of charcuterie go to Jay's Facebook Page: Arizona Charcuterie Club.
 
Christmas is behind us and next time I will share
some of the recipes from our feast!
 
Tune in again soon for another episode of...

From my first salami adventure.
May 2017

Monday, August 28, 2017

PIZZA...AS EASY AS PIE!

Last night I made a Salami Pizza using my new pizza pan. Because of the perforated pan I think the pizza cooked more evenly and the bottom crust was perfectly browned. I had made this pizza dough a few weeks ago and froze 2 of the 3 portions. The dough did not rise as much after being frozen, but was still delicious and made a beautifully thin crusted pizza.
A few days ago I made a really rich tomato sauce so putting this pizza together was fast and easy. Of course you can use sauce in a jar, but it is more fun and much better to make your own!
Recipe for the dough is from Giada De Laurentis. I love most of her recipes and this one is no exception.
 
PIZZA DOUGH
Ingredients:
1 1/2 cups warm water (100-110 degrees), plus extra as needed
1 packet active dry yeast (I Tbsp.)
4 cups all-purpose flour, plus extra as needed
1 1/2 tsp. fine sea salt
Olive oil for drizzling

Preparation:
Put the water in a small bowl. Add the yeast and stir until dissolved. In a large bowl, whisk the flour and salt together. Add the yeast mixture and stir until a soft dough forms. If the dough is too dry, add a little more water, 1 Tbsp. at a time. If the dough is too sticky, add more flour, also 1 Tbsp. at a time. Transfer the dough to a floured work surface. With floured hands, knead the dough until it becomes smooth and elastic, about 10-12 minutes. That is a lot of kneading, but I believe that is why this dough is so tender and yummy. Drizzle the inside of a clean bowl with olive oil. Put the dough in the bowl, roll it around to coat with oil. Cover loosely with plastic wrap or kitchen towel. Set the bowl in a warm, draft-free place (not easy in Ireland!), until the dough has doubled in size; about 2 hours.

Using a fist, punch down the dough in the center and cut it into 3 equal-sized pieces. Form the dough pieces into 3 balls and put in oiled bowls. Cover each bowl loosely and let rest for another hour. Remove the dough and wrap in plastic. Refrigerate up to 1 day, or freeze as I did for a couple weeks, or use straight away.
Using your fingers gently spread the dough out on a pizza pan or cookie sheet. As you can see my dough did not quite reach the edges of the pan, but that is no problem.
Drizzle with red sauce and then add whatever toppings you like. 68% of Americans prefer meat toppings and pepperoni is the most popular choice, but experiment with different veg: eggplant, roasted red pepper, cauliflower.
Pizza ready to bake.

I topped with Salami Milano and Coppa Salami, freshly grated Parmesan and Mozzarella cheeses. Salami Milano is a cured sausage consisting of fermented air-dried pork or beef. I used pork. Coppa or Capocolla is a traditional Italian and Corsican sausage made from the dry-cured muscle running from the neck to the pig shoulder.

To cook your pizza pie, preheat oven to 375 degrees. Cook for about 20 minutes depending on your preference of crispy or doughy crust. Let rest a couple minutes, then slice, and EAT!
Each man, woman and child in America eats an average of
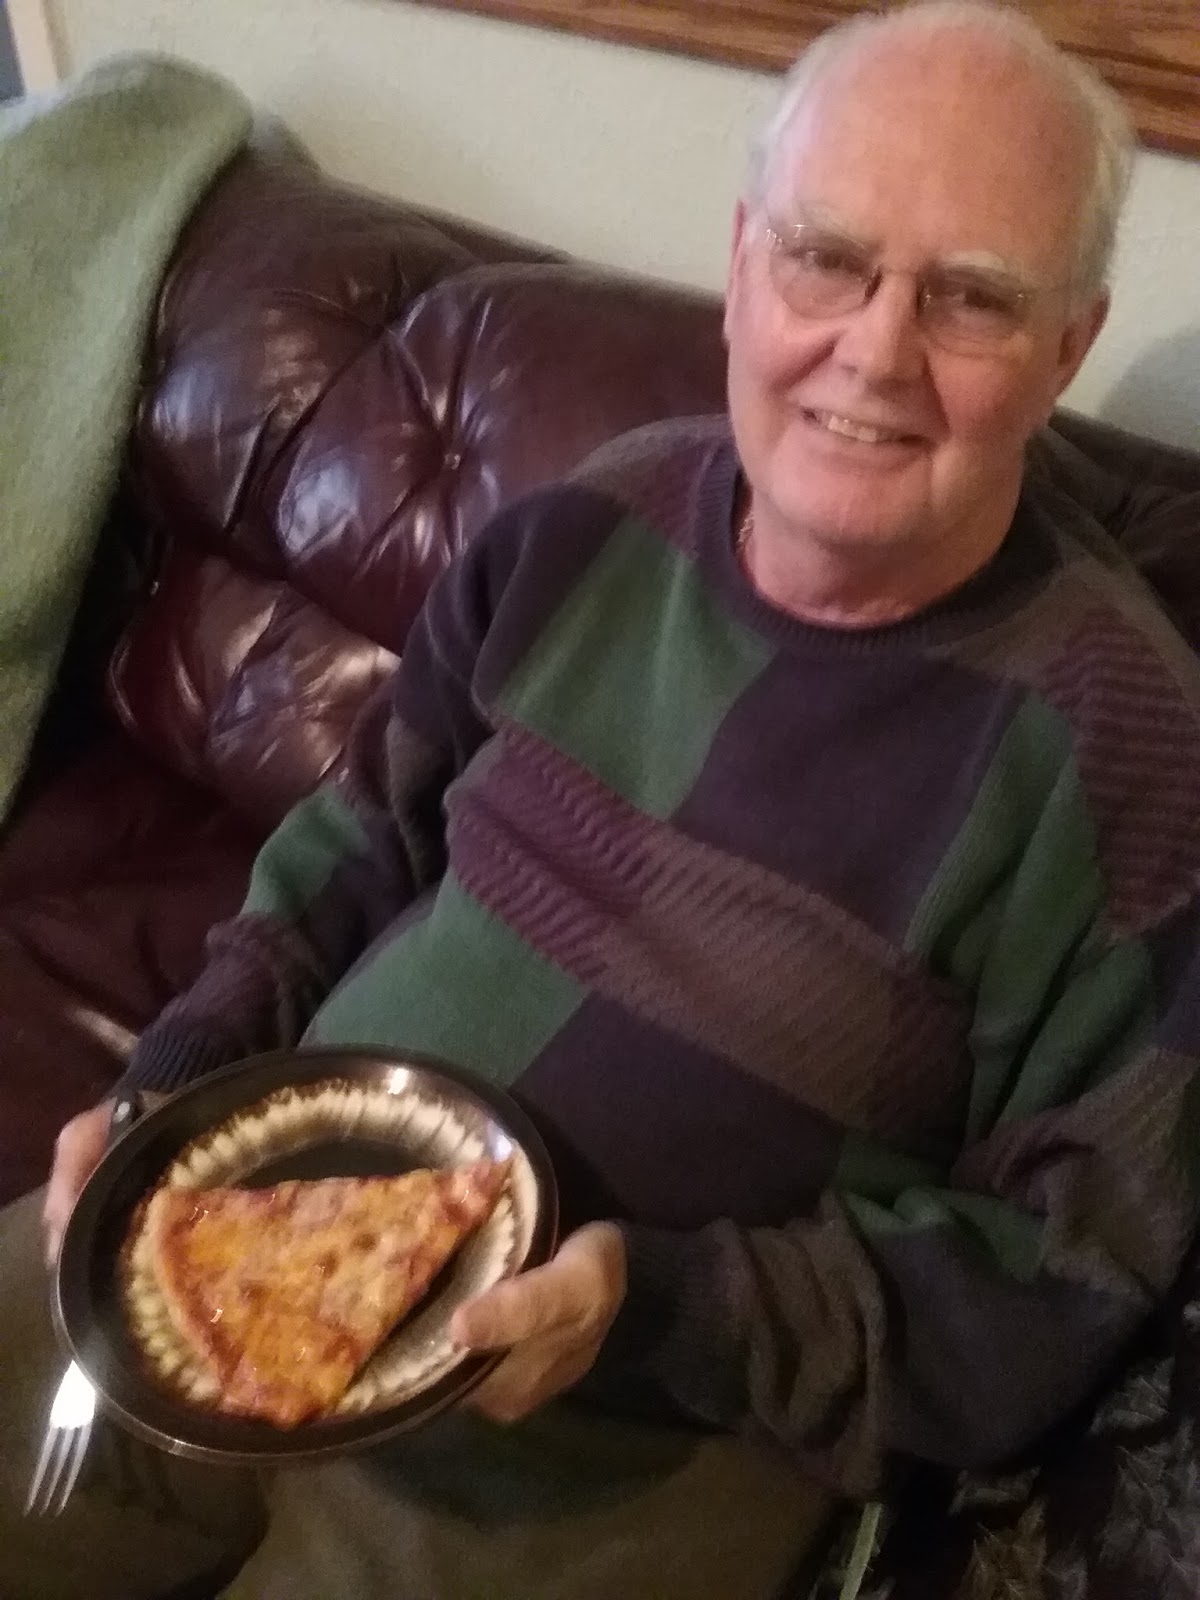
46 slices of pizza per year. My husband, Jerry, loves pizza! 
That's all for today. We are leaving Ireland in less than 2 weeks returning to the land of sun and warmth in beautiful Arizona. This year has been a challenge cooking in Spiddal, Co. Galway, Ireland as we are doing renovations on our house and I have had no kitchen for the last 3 1/2 months. I am cooking on our old stove which has been set up in the garage. Not the most convenient, but a fun challenge!


THANKS FOR TUNING IN
TO ANOTHER EPISODE OF: